I’m one of those people who will take on any size project no matter how daunting. My friend Bridget and I took on a DIY sideboard/buffet piece this weekend. To our amazement, it came out awesome! It took us all day Saturday and Sunday from start to finish.
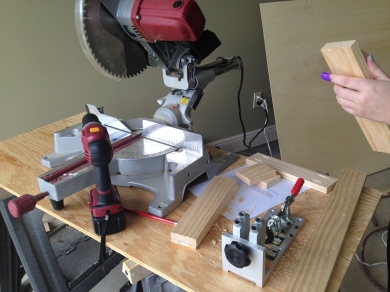
Luckily, I have the most wonderful stepdad who let me borrow all of his big manly power tools to build this piece. And the hardest part of the whole thing turned out to be Bridget and I trying to figure out how to use said tools. After that, look out!
I found the plans on Ana White. It was originally for a sideboard with a hutch on top. I really didn’t need or have room for the hutch part so we didn’t make it. It was somewhat overwhelming at first, but once we figured a few things out, then it was just a matter of completing each step.
The plans come with a materials list and a cut list. Once we got all of our materials, the cutting (and the trying not to cut off fingers) began.
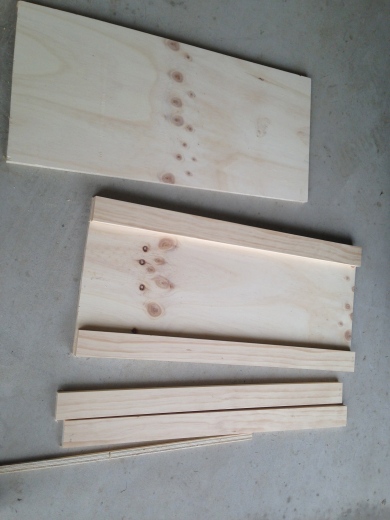
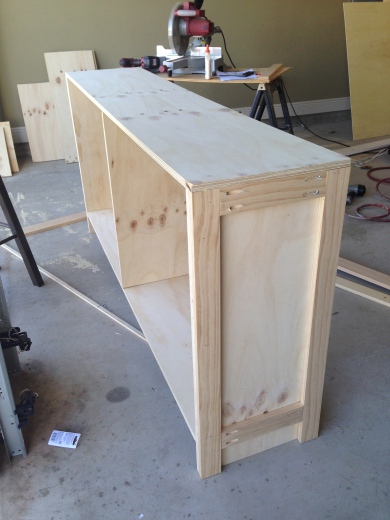
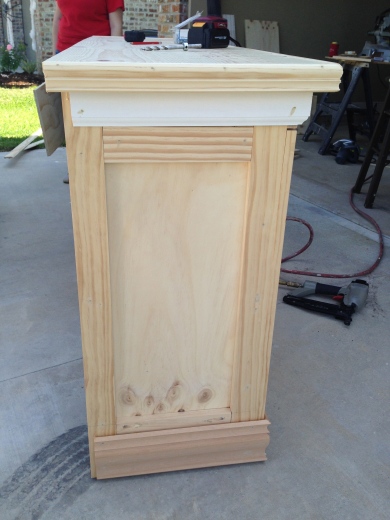
We started to build the sides with 3/4 inch plywood and 1x3s.
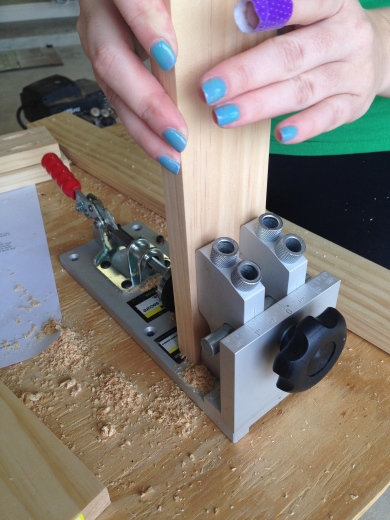
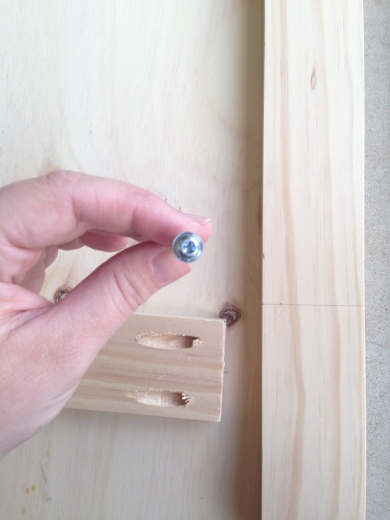
We used this Harbor Freight version of a Kreg Jig, which I highly suggest you use to make the pocket holes required for this piece. You just put the wood you want to use into the holder and drill in the hole with the bit provided.
We put our pocket holes into the middle pieces and used 1/4 inch pocket hole screws to attach the two pieces.
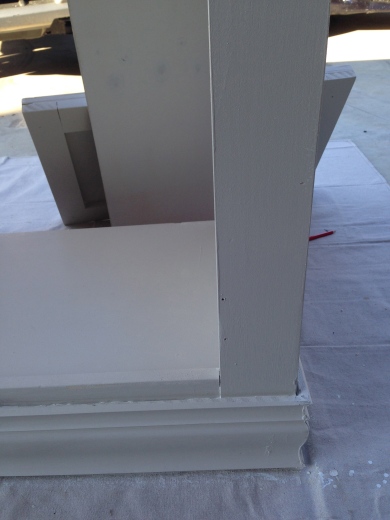
Next, we attached the sides to 15 3/4 inch plywood that I had ripped down at Home Depot. I figured the less cutting I had to do, the better.
We attached moulding to the top and bottom and started to make the doors. After this, it was time for football and a cocktail (or three).
The next day, we got a fairly early start…. too many cocktails the night before…
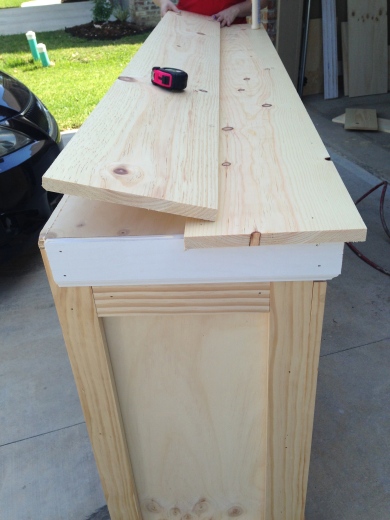
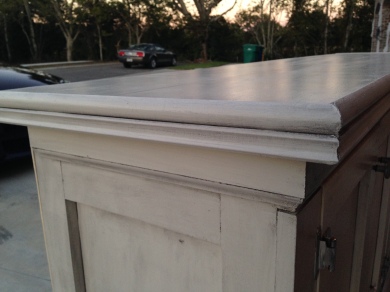
We decided to get creative and go off the plans. We added two 1x10s that were 8 feet long. We cut them down so that they hung over the edge about 1 inch.
Then, we added some more trim around the new top. We also added another piece of 1×3 onto the side under the top piece of moulding to create a little more visual interest. Fancy, huh?
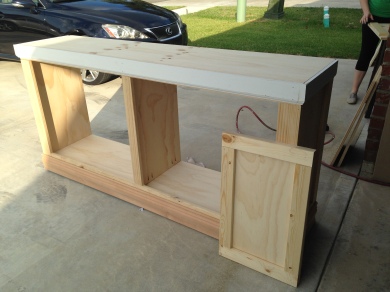
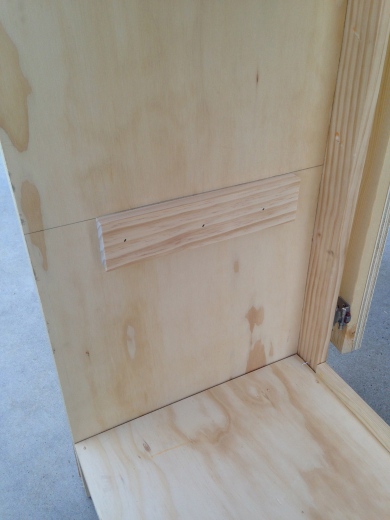
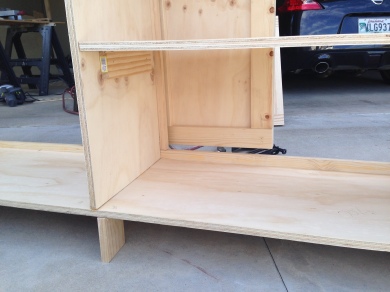
Next, we measured 14 inches up and nailed in a little piece of scrap 1×3 to each side to sit the shelves on.
Ta da! A shelf. Actually, two shelves!
You can make as many shelves as high or low as you want.
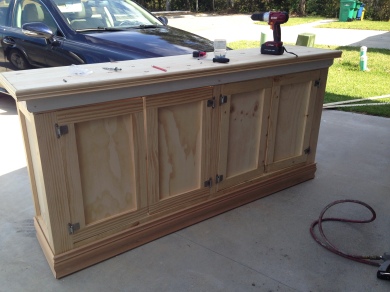
We put the doors on to make sure that they all fit… they did. Sort of.
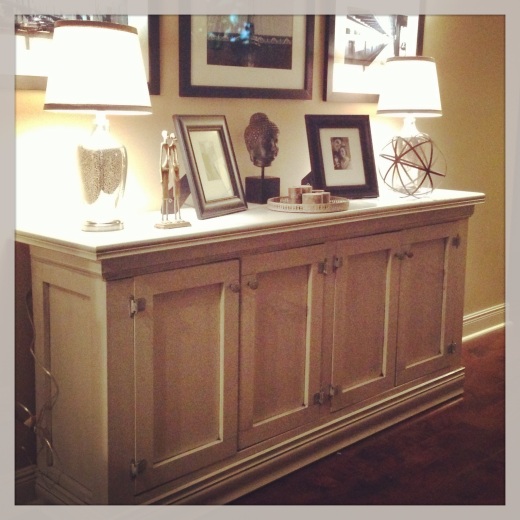
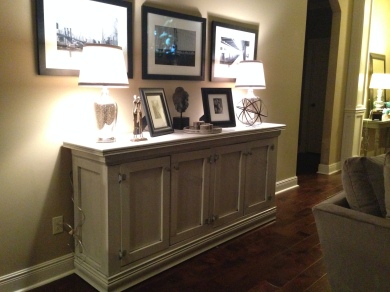
We took the doors off, primed her, and then painted her. I used Behr Aged Beige in a semi-gloss. Its a grey-ish color that I looooove.
After we painted, we used Martha Stewart glaze in the black coffee color. You just apply it with a sponge brush and wipe it off. We used a combination of wet and dry rags to wipe the glaze off to get the look we wanted. Seriously, in lurve.
We found some pulls at World Marke that are rustic-y and fabulous.
I mean, how gorgeous is this? And at a fraction of the price of what it would cost in a store? Yes, please!
It goes perfectly in my house. I love it and couldn’t be happier with the fact that I actually made this!
Look out Bob Vila!


Pingback: DIY Corner Hutch | The Sweet Life
Pingback: Not Your Average Backyard BBQ | The Sweet Life